
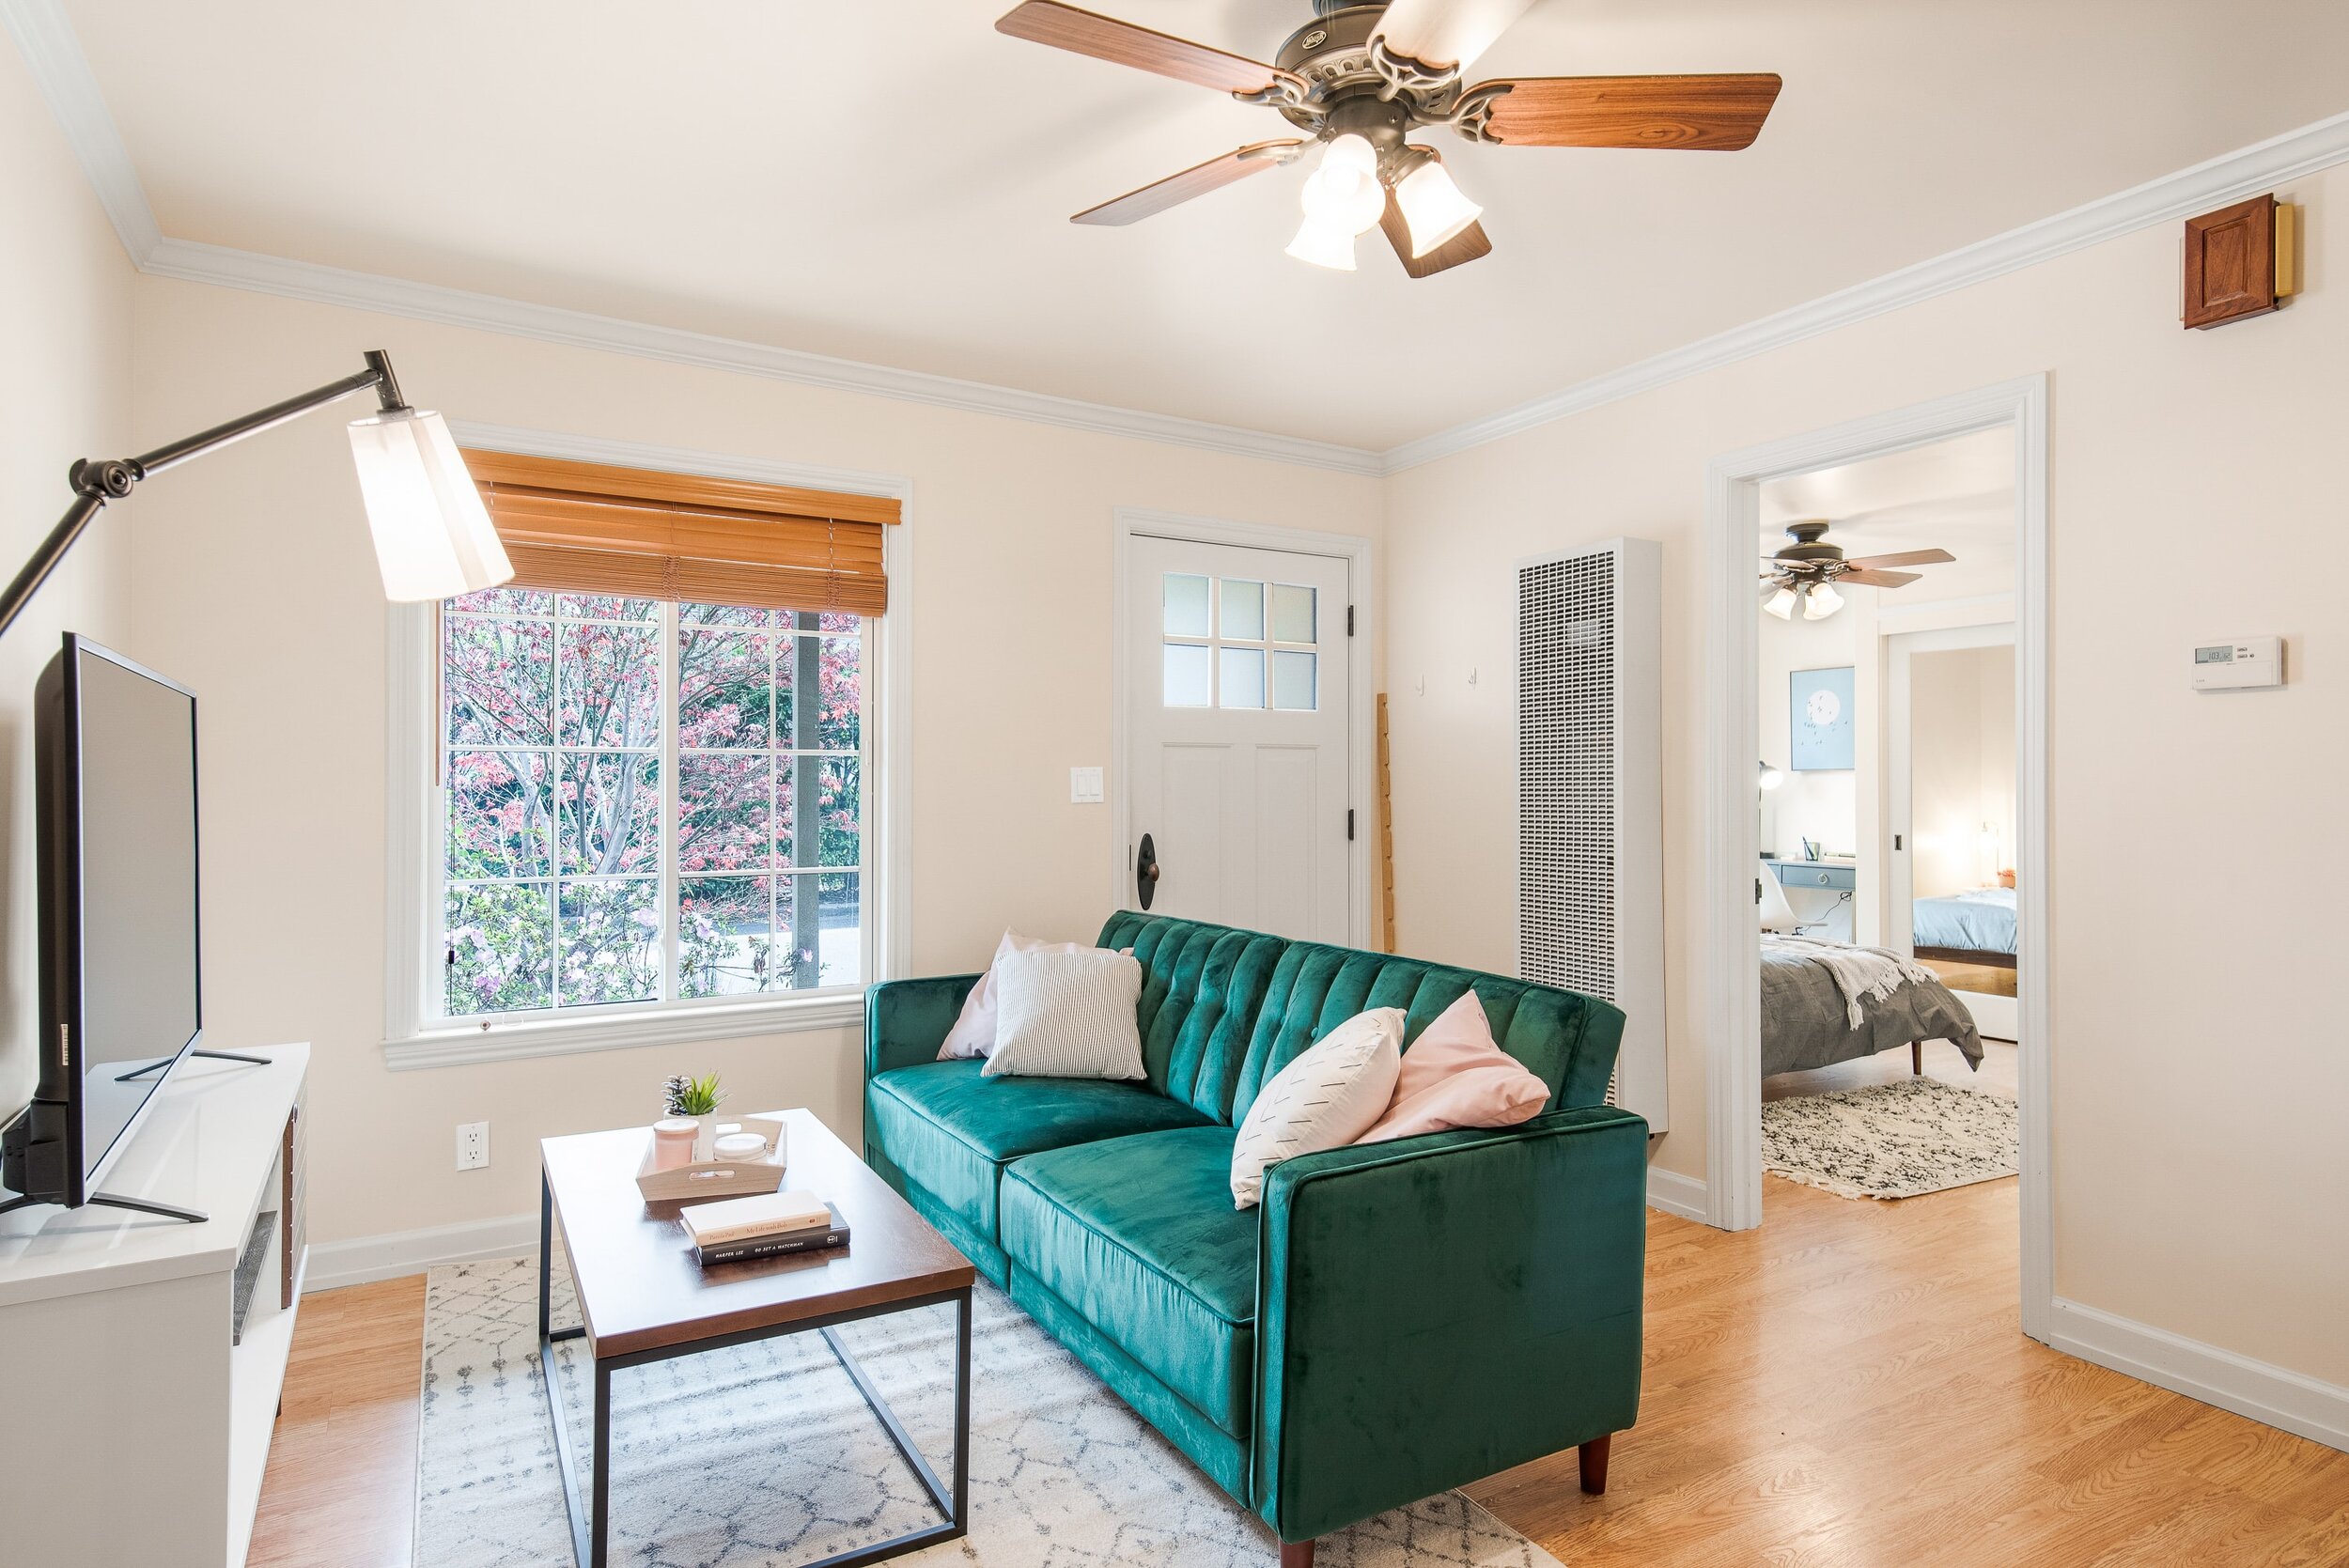
How to Replace a Light Fixture for a Ceiling Fan
A ceiling fan helps to cool down (or heat up) a room by circulating air and can even reduce your energy costs. A fan uses less power than a thermostat and may reduce cooling costs by up to 8 percent in the summer or heating costs by as much as 30 percent in the winter. When you think about it, it basically pays for itself. Consider replacing a light fixture with a ceiling fan before the summer heatwave hits. The project is relatively simple and can be completed in just a few hours. Here’s what you need to know before getting started:
Important: Make sure that the electrical box will support the ceiling fan’s weight.
The advantage to swapping an existing light fixture is that you won’t have to install new wiring. However, it’s possible that the electrical box used for the light fixture won’t be strong enough to support the weight and movement of a heavier ceiling fan. If you’re not sure, or if you know the electrical box needs to be replaced, it might be time to call a Fixer—this fixture will be spinning above your head, after all!
Consider the fan size.
A larger living room should have a larger sized fan compared to the size you would want to put in a smaller bedroom. Fans come in a few different standard sizes. Here’s an easy way to determine which one is best: Measure the longest wall in your room. If it’s less than 12 feet, you’ll need a fan that is 36-inches in diameter. If the longest wall is 12 to 15 feet, get a 42-inch fan. Anything over 15 feet, you’ll need a 52-inch fan.
Tools and materials you may need:
-
Drill
-
Tape measure
-
Stud finder
-
Wire strippers
-
Wirecutter
-
Screwdrivers – flat and Phillips head
-
Non-contact voltage tester
-
Multi-meter
-
Ladder
-
Wire nuts
-
Electrical tape
-
Screws
-
Magic Eraser

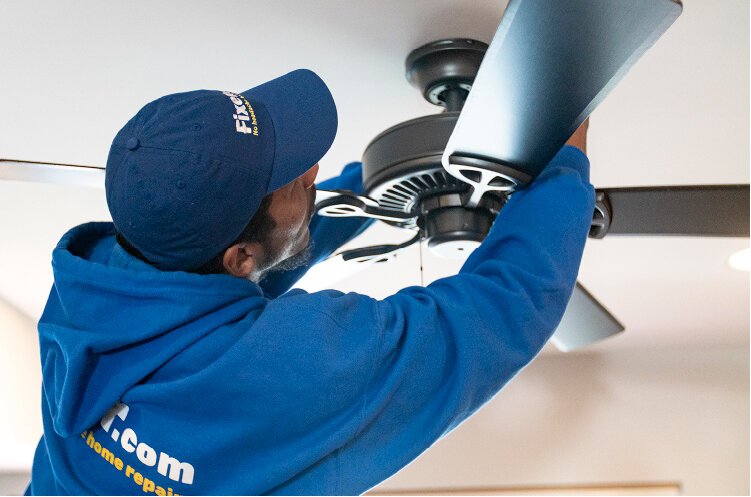
Steps for safely replacing a light fixture with a ceiling fan:
-
READ THE INSTRUCTIONS for the new ceiling fan before getting started.
-
Turn off the power at your electrical panel.
-
Check that the power is off using a non-contact voltage tester. Be sure that the switch to the fan is in the on position when you’re testing.
-
Remove the old light fixture by unscrewing it from the ceiling.
-
If replacing an existing ceiling fan, disassemble as much as you can on the existing fan, to make removal a little easier.
-
-
Once the fixture is loose, disconnect the wires. Recap the wires in the ceiling with wire nuts but only screw in place; do not tape. This is a safety step that also helps you from losing small pieces!
-
Make sure that the electrical box is secure. If needed, replace the existing electrical box with one that will support the ceiling fan’s weight (chat with a Fixer by video if you’re unsure).
-
Follow the instructions for the ceiling fan installation (it’s important to follow the order of operations specific to your ceiling fan). Avoid one of the most common mistakes: Pay close attention to when you’re supposed to install the canopy piece! This is the decorative piece that goes against the ceiling; it’s usually installed with the downrod and wiring. It may seem like it will do nothing but get in the way that early on, but miss this step and you’ll be disassembling and reassembling the whole thing.
-
Clean the ceiling around the fan – this is where the Magic Eraser can come in handy.
-
Touch up paint if needed.
Fixer is here to help you install a ceiling fan in real-time.
If you run into trouble, our home repair experts are here to assist you in-home or by video. We can help you troubleshoot any issues during a one-on-one video call or send a Fixer to your home if needed.