
Flatscreen TV On Your Horizon? Read This So It Stays on the Wall — Not the Ground

I can’t tell you how to find the best deal on a Black Friday TV — in fact, I can’t really give you any Black Friday shopping tips at all — but what I can tell you is this: If you spend a lot of money on a new TV, you’ll want to hang it right.
Easiest way to get your TV hung right? Book a Fixer — we’ll have it up in no time, and you’ll have the peace of mind knowing that it’s safe, secure, and done right the first time.
But if you’re bound and determined to be a true DIY-er, follow these tips and you’ll be kicking back and binge watching in no time:
What You’ll Need:
-
Tape Measure
-
Stud Finder
-
Power Drill
-
Level
-
Writing Utensil (always handy for any project!)
Step One: Grab a TV Mount!
There are plenty of guides for choosing a TV mount, but your best bet is to just pick one up at the same time you buy that TV. The fine folks in-store or online will have an exact recommendation for the make and model of your TV, and you won’t have to guess what will work and what won’t.
Step Two: Where Are You Hanging Your TV?
This is maybe the most important question — and one only you can answer! The Spruce has a handy tip sheet for where to place your TV, but at the end of the day only you know in your home how your family relaxes and how they’ll use the TV, so you know best.
The most important points?
-
Find a power source close by, and
-
Find and mark your studs!
It’s important that you don’t use hollow wall anchors to hang your TV — they just can’t support the weight. Make sure your TV mount is screwed into studs using your trusty stud finder, otherwise your TV may come crashing down.
Measure your mount, then make sure it squares up with your studs. If it doesn’t, it might be time to call in the professionals — i.e., Fixers like me.

Step Three: Hang That Sucker!
It’s the moment of truth: Let’s get this mount up!
Make sure your mount is level, drill your pilot holes into the studs, then attach the mount to the wall.
Remember the old saying: Measure twice, cut once. The same goes for drilling — measure twice, drill once. You don’t want a bunch of messy holes in your wall, so make sure you’ve checked everything before you get started.
We’re almost done — what’s next?
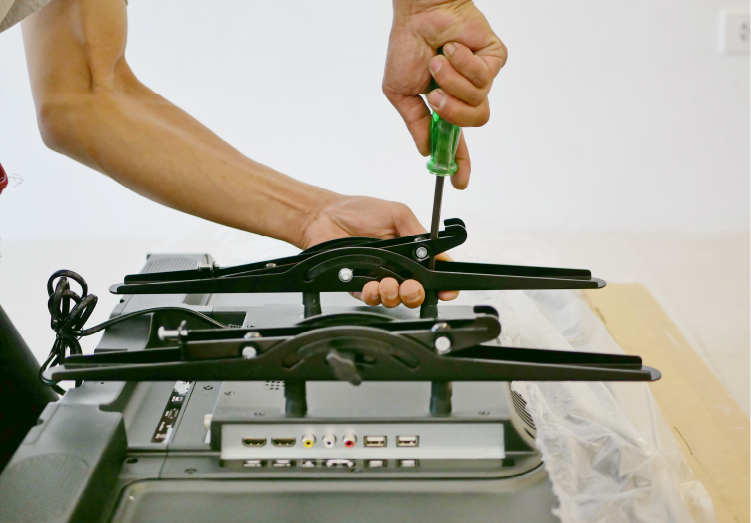
Step Four: Attach the Mounting Plate to Your TV
Your mount will have directions for how to do this, and it should be pretty simple. This is a hard one to walk you through without seeing the exact mount and the exact TV, so you know what I’m going to say: If you get stuck, give us a shout.
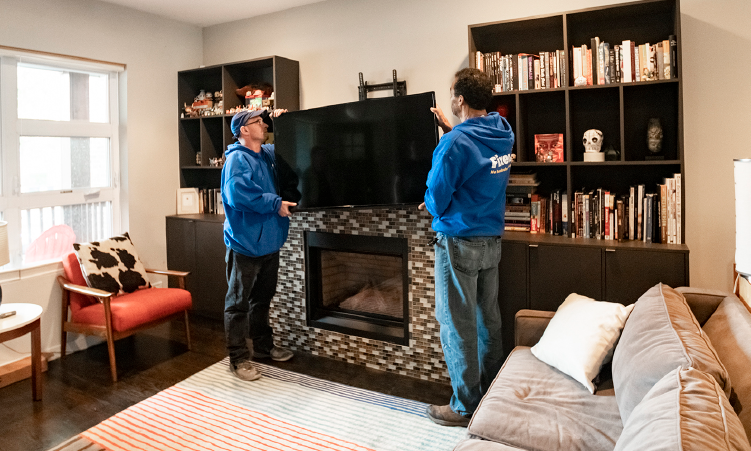
Step Five — The Last Step: Attach Your TV to the Mounting Bracket!
This is the exciting (and scary) moment — again, this is hard to walk you through without seeing the specific specs of your TV and mounting bracket ourselves, but your manufacturer’s directions should give you specific instructions.
Just make sure once it’s on that you double check that it’s safe and secure!
Extra Credit: Cover Those Cords!
Not all of us are lucky enough to have an outlet installed right behind our TV (But you know who can help you with that? We can.) so if you have cords dangling down, you’ll want to cover them.
Just use a cord cover to cover those pesky cords, and you can paint it to match your wall color — easy peasey!
Now you’ve got your TV up, ready to relax. But we get it — this is a lot of steps, and a lot could go wrong!
If you want to save yourself the time and heartache of a TV crashing to the ground, we install TV mounts almost every day. We promise we’ll get it right for you on the first try, leaving you more time for family fun during the holidays.
Just request a Fixer when you’re ready — we’re here for you.